in-lite Installation Guide
Posted by Greg Parkins on
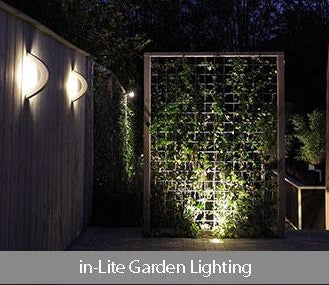
Our in-lite lighting Installation guide contains everything you need to know about installing your new lighting products. Creating an beautiful outside space you can enjoy all year round has never been so easy!
5 Step Installation
The in-lite system is designed to be easy enough to install yourself, however we would always recommend getting an electrician to carry out the installation. Simply follow the step by step guide below or watch the full video further down the page.
-
The Transformer
The transformer is the motor for the in-lite system, it manages the lighting and provides power to the system and must have sufficient capacity. In other words, the total capacity (watt) of all fixtures in your lighting plan cannot be higher than 90% of the transformer's capacity. For example, the maximum load for a 56 watt transformer should be 50 watts.
When installing the transformer, ensure it is at least 50 cm above the ground and attach the light sensor. When placing the sensor, ensure it can't be affected by any artificial light as this can affect it's performance.
-
The 12 volt cable
The low-voltage cable transports power and lights up the fixtures. We recommend creating a cable plan before starting installation activities to ensure there are no surprises. Connect the cable using cable lugs and run where possible along paving for easy access and ensure the length doesn't exceed the following lengths:
- 14/2 cable - 40 metres
- 10/2 cable - 80 metres
Please note!
in-lite uses high quality cables for its 12 volt system. It is important to prevent power losses (voltage drop) over long distances and to make sure the cable can withstand external influences. The guarantee will expire if you connect in-lite fixtures to cables by another manufacturer.
-
The Easy-Lock
The Easy-Lock makes it easy to connect fixtures to the 12 volt cable and is an important part of the system. Effective contact with the cable guarantees effective conduction of power and thus perfect light output.
Easy-Lock is perfectly compatible with the 12 volt cable and a special gel protects the connection against moisture and other external influences. Always clamp the cable into the appropriate duct: the narrow opening is for the 14/2 cable and the new 10/2 cable, while the wider opening is for the thicker 10/2 cable.
Always check whether the cap has been properly placed on the Easy-Lock then place it somewhere which is easy to access.
-
The mini-connector
The mini-connector connects the fixture to the Easy-Lock and makes it possible to easily pass the cable through a hole in tiles or walls. The standard cable on our fixtures is around 60 cm long but an extension cable can be used if the fixture needs to be placed further away, however this can only be up to 4 metres away from the cable.
-
The fixture
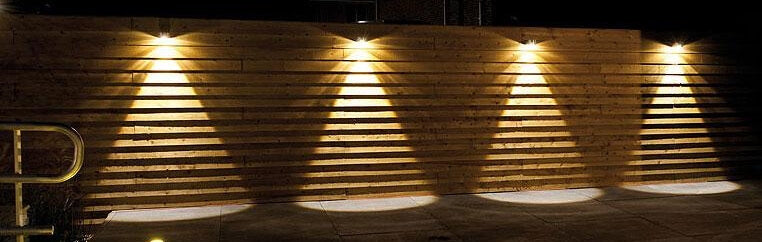
The last step in the installation process involves placing the fixtures in the correct place. in-lite can offer you ground spots (Integrated), upright lamps (Solitary), wall lights (Wall) and outdoor spotlights (Spot). When constructing our fixtures, the external conditions encountered in gardens are taken into account wherever possible. The videos show you exactly how to install fixtures from our various product groups. Always follow the instructions when connecting fixtures.
Installation Example:
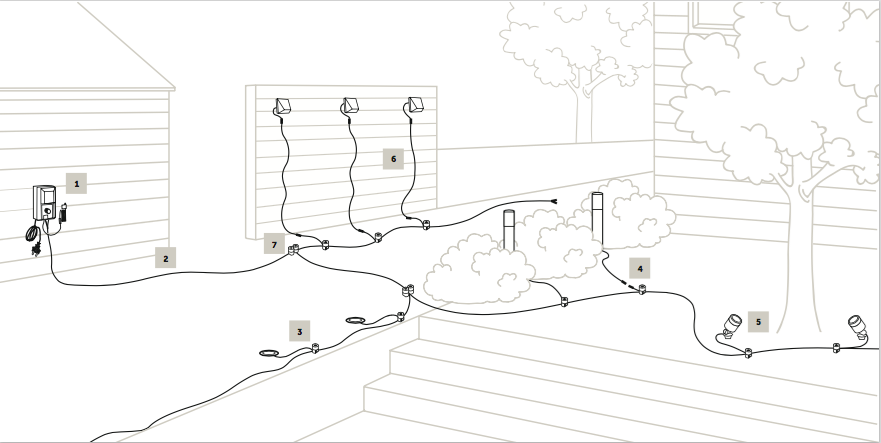
- Transformer
- 12 Volt Cable
- Easy-Lock
- Mini Connector
- Light Fixture
- Extension Cable
- Cable Junction
Installation Video
← Older Post Newer Post →