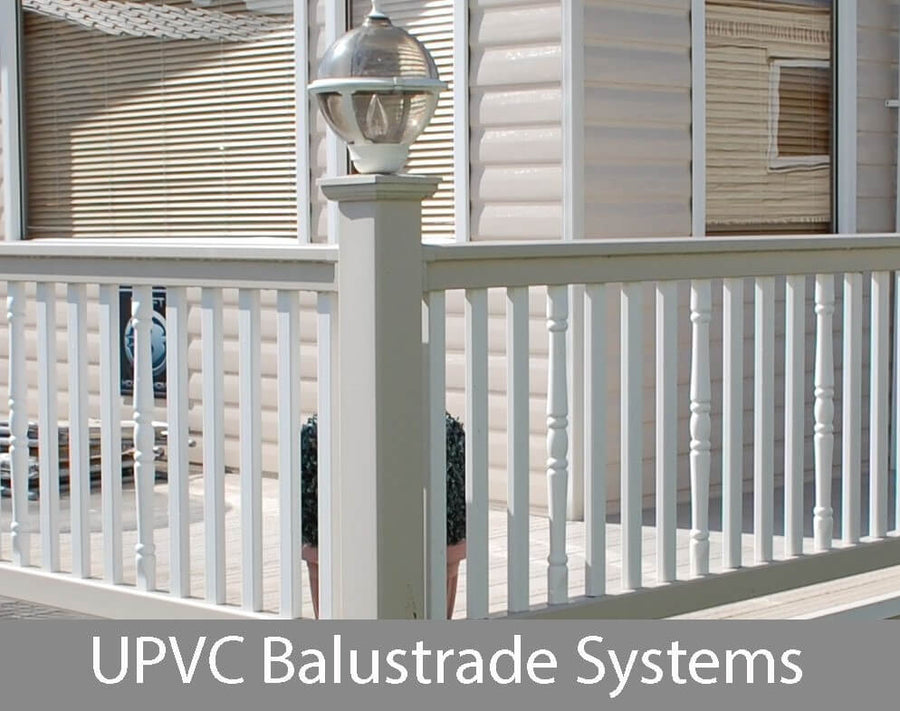
uPVC Balustrade Installation Guide
Posted by Greg Parkins on

Our guide on how to install your new uPVC Super Rail balustrade will tell you everything you need to know to fit, finish and take care of your deck railing system.
What you'll need:
- PPE - Safety Gloves, Safety Goggles and Ear Protection as required
- Pencil, Tape Measure, String Line and Spirit Level
- Drill/Driver and Screw Driver
- Fine Tooth Wood Saw or Power Saw
- Hacksaw
- Appropriate Screws
Setting out your posts
When setting out your Super Rail posts it is important to give a balanced look by keeping equal distances between posts over the length of your balustrade run.
A simple way to achieve this is by measuring the total length and dividing until you reach a size that is closest to one of our 3 rail sizes (1,200mm / 1,800mm / 2,400mm)

For Example: if your total length is 7,500mm, firstly deduct the width of 5 posts at 103mm each (515mm total) from the total length to give 6,985mm. Then divide this by 4 to give equal sections between the posts of 1,746mm don’t forget to allow for the brackets and use the next rail size up (use 1,800mm rail section for this example and trim to suit).
Next mark out and fasten down your Super Rail galvanised metal post inserts and make sure they are as secure as possible and always use the correct size and type of fixing for the substrate you are fixing to. You may need to turn the inserts upside down and make the 4 holes larger by drilling if using rawl bolts to secure into concrete.
If required, pack under the post insert to achieve true vertical plumb on all sides and use a spirit level to check this. After fastening your metal post insert down you can then slide over your Super Rail Post Sleeve and add your Super Rail Post Shroud if required.
It may be necessary to string a line between the 2 most external posts to level the top of all the posts if the surface you are fitting to is not level. This is recommended to be done after the rails have been fitted.
All PVC parts should be protected and handled with care to avoid damage and scratching throughout each process.
Fitting Your Rails
After fitting your posts you can now look at attaching your rails.
First you may need to trim your top and bottom rails to size, the brackets are 30mm deep so allow a certain amount of leeway, be sure to take equal amounts off of either end as this will ensure you have equal picket spacing at each end.
This can be done with a fine tooth wood saw or blade if using a power tool, make sure you first remove the steel reinforcement, which can be cut with a hacksaw if required. All metal cutting should be carried out away from all plastic parts
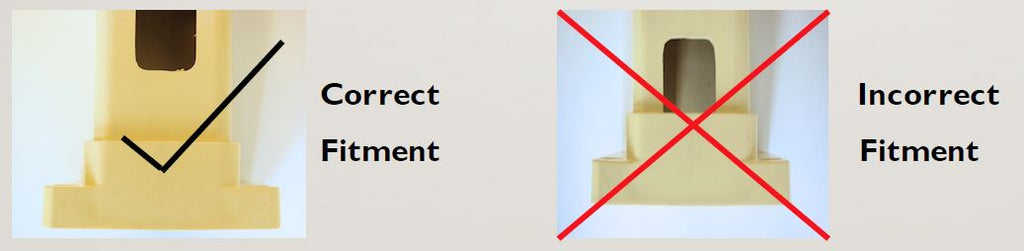
You should take care when cutting the rails down to make sure the brackets finish on solid material and not part way through a picket hole.
You can now set the height of your bottom rails at each end of the run, we recommend using off cuts of bottom rail placed either end to do this or if using the commercial height (1,100mm) then you will need to space a maximum of 100mm from the floor.
A good tip is to then use a string line between the 2 external end posts to ensure you have a true line through the run of rails. If your deck sags slightly or your surface is not fully level then using the line as a guide will reduce the risk of the rails looking out of line.
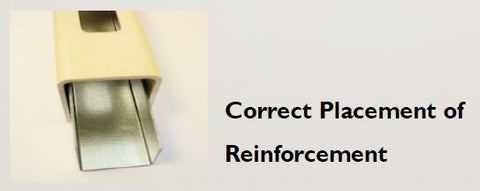
Now that everything is marked out, you can slip in any reinforcement and put on the bottom rail brackets to each end (remember to take care as they are very sharp). Then fix the bottom rails at either ends to your posts and make sure the picket holes are facing upwards.
Once all the bottom rails are fitted you can go along and place a picket in to each individual hole.
Now add the top rail, starting at one end and holding the rail at a slight angle being very careful not to let the steel reinforcement slide out as they could be sharp and could cause damage or injury.
Next go along and insert a picket in to each hole one after another until they are all in and the top rail sits flush and level. Finally centralise the bracket to align the top and bottom rails and attach with screws to the post.
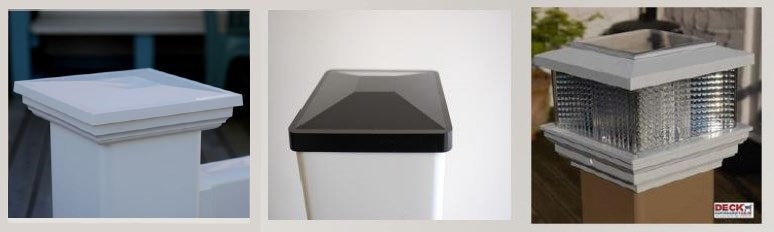
Finishing Touches
Now that your Super Rail Posts are in place and your top and bottom rails
have been secured you can Finish with one of the following:
- Super Rail Standard Cap
- Super Rail New England Cap
- Solar Post Light
Maintenance
If needed your Super Rail balustrade can be cleaned with mild soapy water, do not use any type of chemical or solvent cleaner on the PVC as this invalidates the products warranty.
*N.B. These instructions are intended as a guide only as all installations vary. All Super Rail Balustrade should be
installed by competent persons Deck Supermarket Limited can not be held responsible for mistakes or injury that
happen while using this guide.
*All heights and Building Regulations should be checked with Local Authority prior to installing and correct codes of
practice followed by the installer.
Download the uPVC balustrade guide here.